Trash Picking – DIY!
Ok, this may sound strange (like most things I say) but I am OBSESSED with trash picking. I mean, I don’t like rummage through looking for snacks or anything but in the city I live in, everything gets put out on trash day. I kid you not, there is so much awesome stuff (in 30 years I’m destined to be a hoarder) on the curb. I love getting random furniture off the side of the road and bringing it back to life! You can get some really unique stuff, which is generally old and WAY better quality than the ikea crap everyone buys these days.
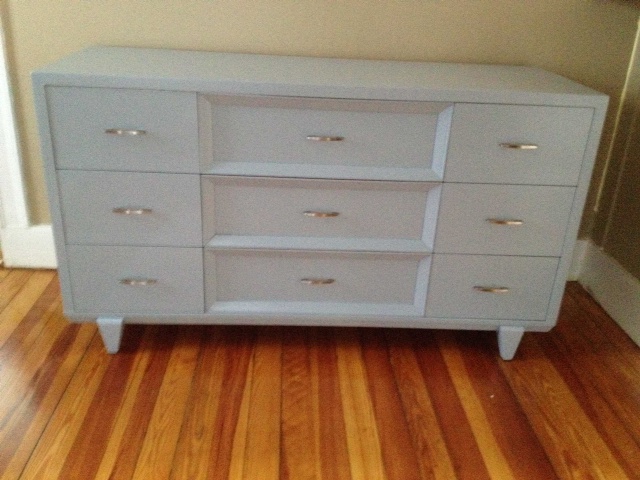
I was driving down the street and found this amazing piece of furniture that had lived in an old lady’s bedroom for 40 years, and was all yellow and nasty from cigarette smoke but it was this amazing shape – kind of a retro mod style that really grabbed my attention so I HAD TO HAVE IT.
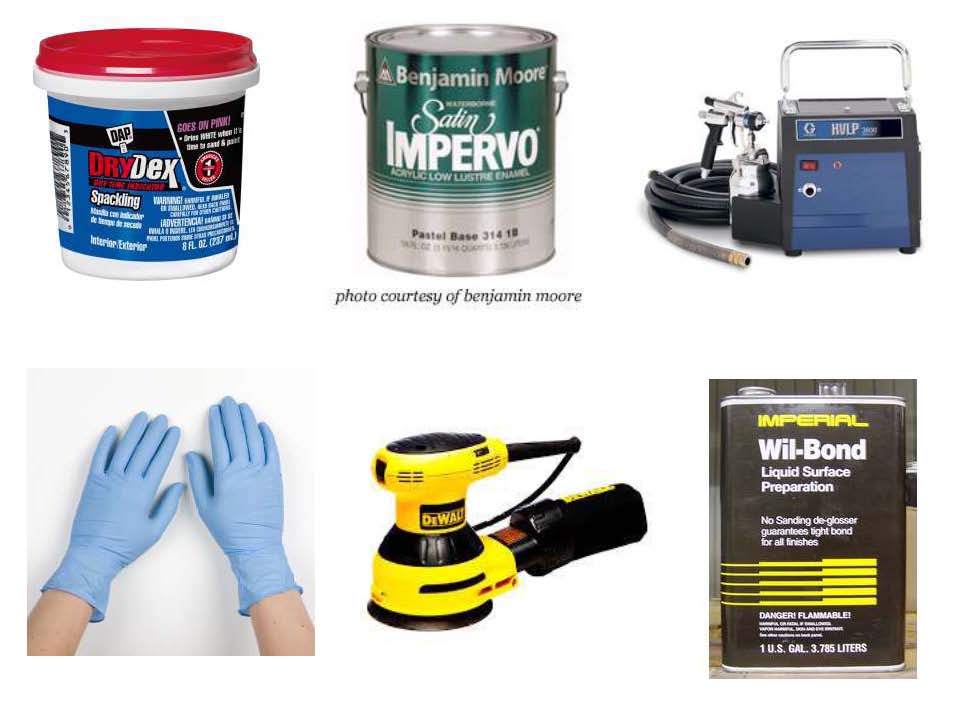
I set up shop in my drive way and got to work. If you want to do something like this (and do it right so it doesn’t look like crap), here’s what you’ll need:
It’s important to use OIL paint with a HVLP sprayer (which stands for High Velocity low pressure). Using a sprayer is way better than a brush as it helps you avoid brush strokes and
keeps the paint going on evenly to give you a factory finish look. Wilbond is important to use before sanding as it takes off all the old lacquer and shine. Then Sanding to make it all smooth and also remove old smells/stains. Dry Dex is a very versatile product you can use all over your house, to fill nail holes, to fix little things that need to be painted etc. it’s an awesome product. You should also wear a breathing mask (not pictured) so you don’t huff all the chemicals.
I wish I had a better camera because this thing looks awesome in real life. It’s very sturdy and is made with quality materials so I was super happy with how it turned out. The entire project only cost me $30.00 (but I had a lot of the materials, which are worth investing in if you like this kind of stuff). On to the NEXT!!


